3D Modeling and Misc Animation Work
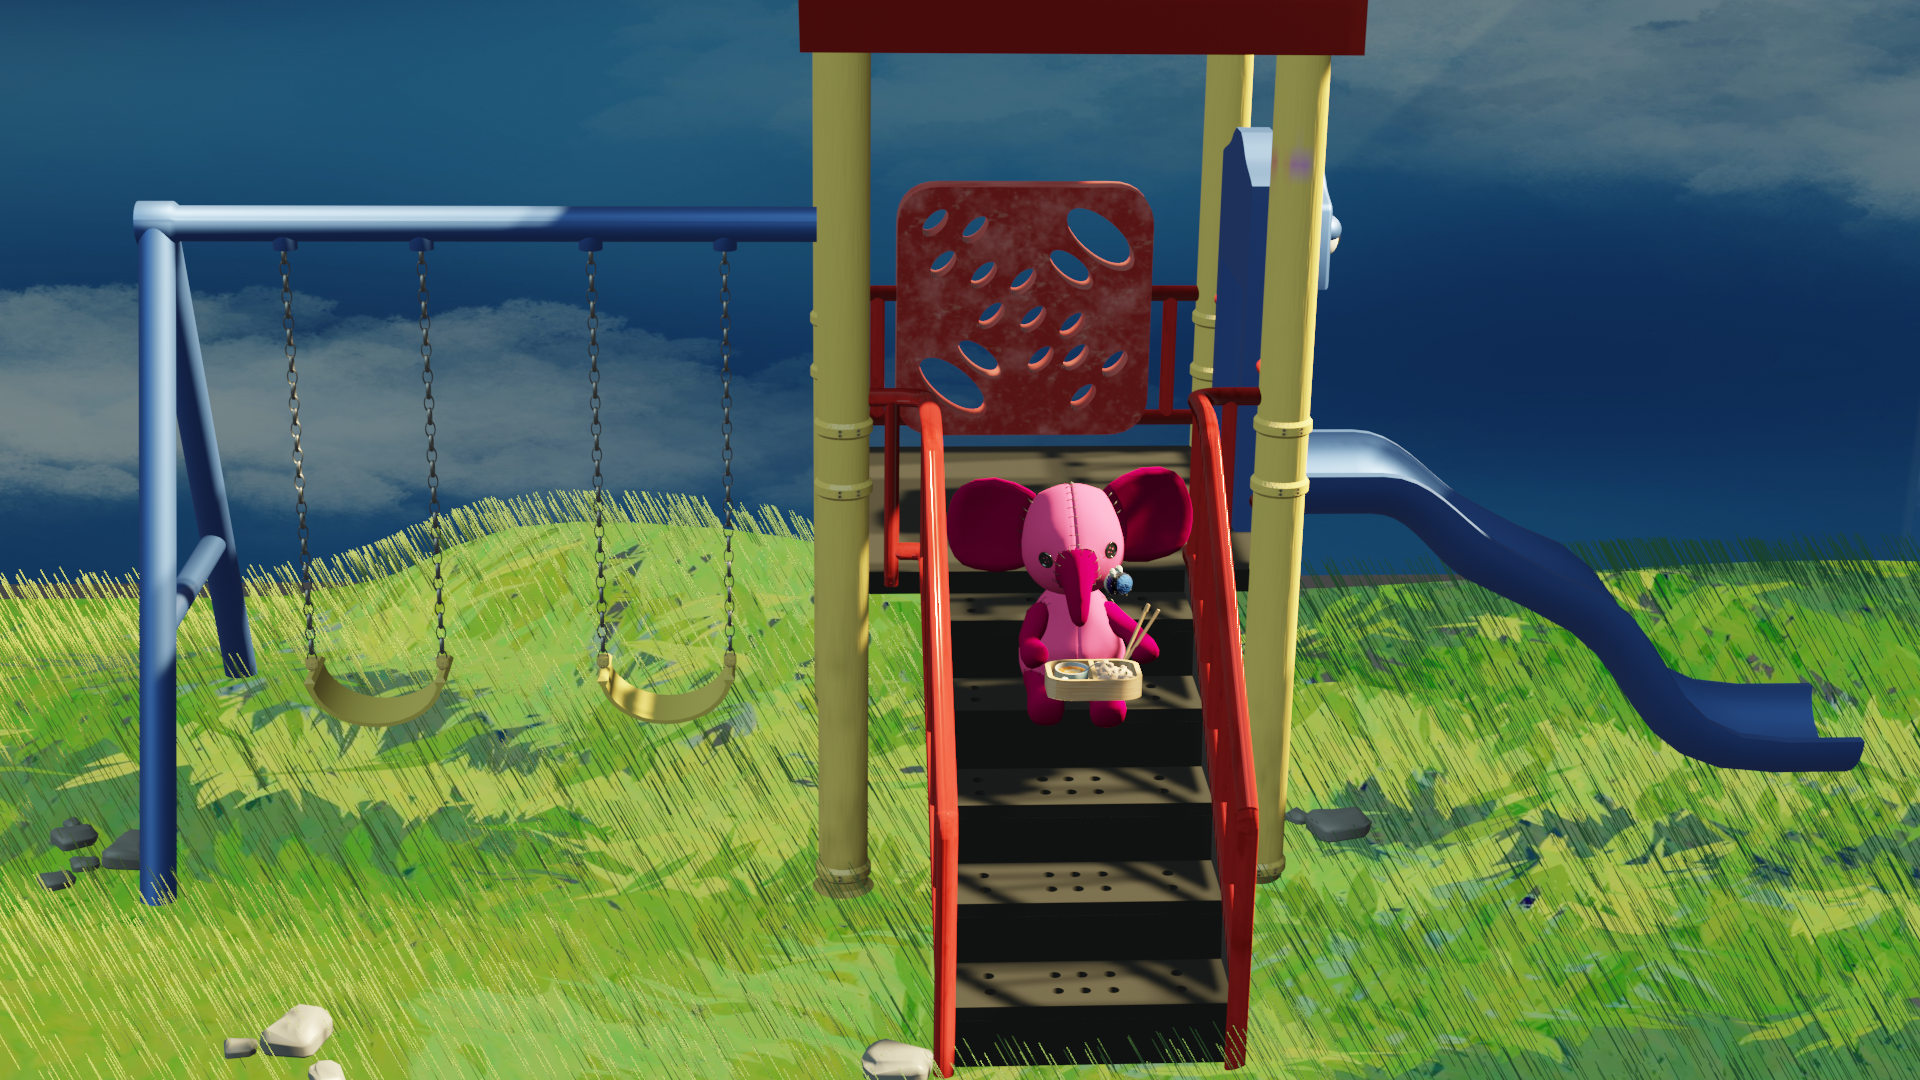
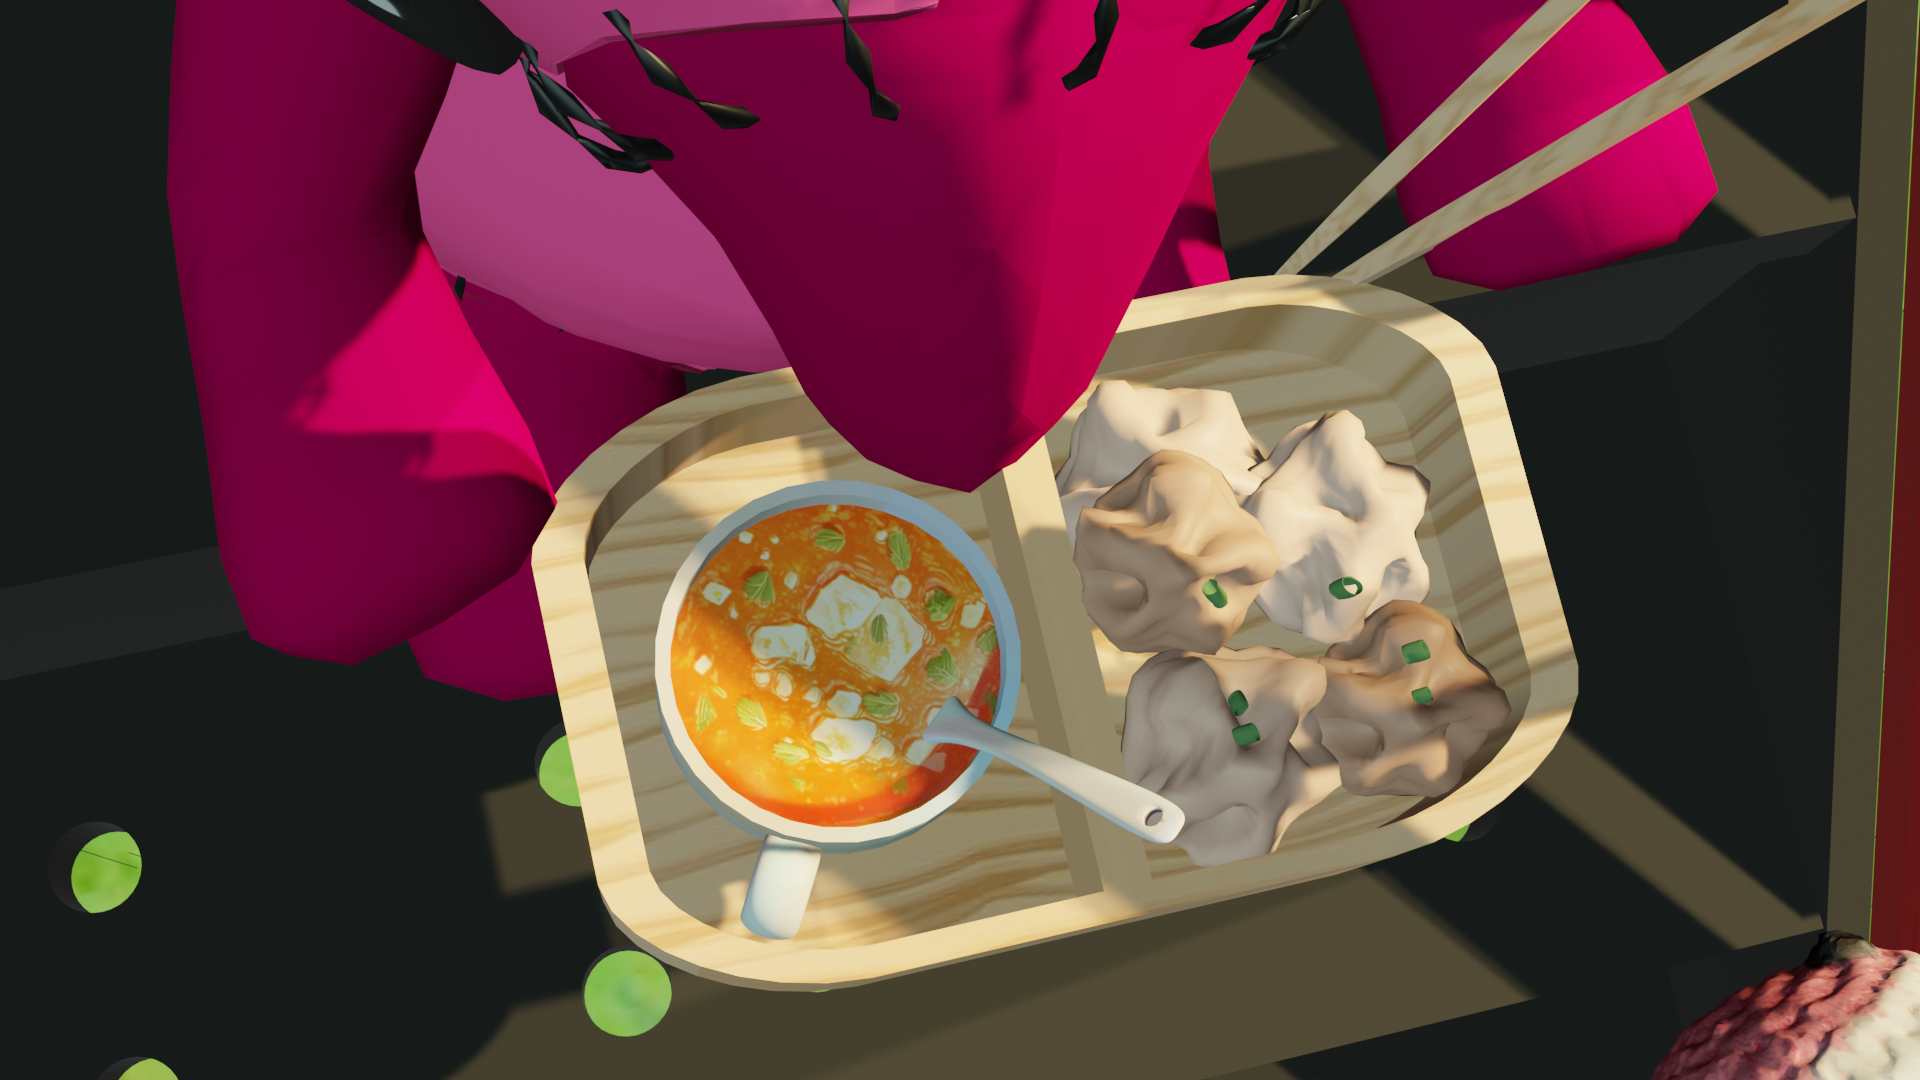
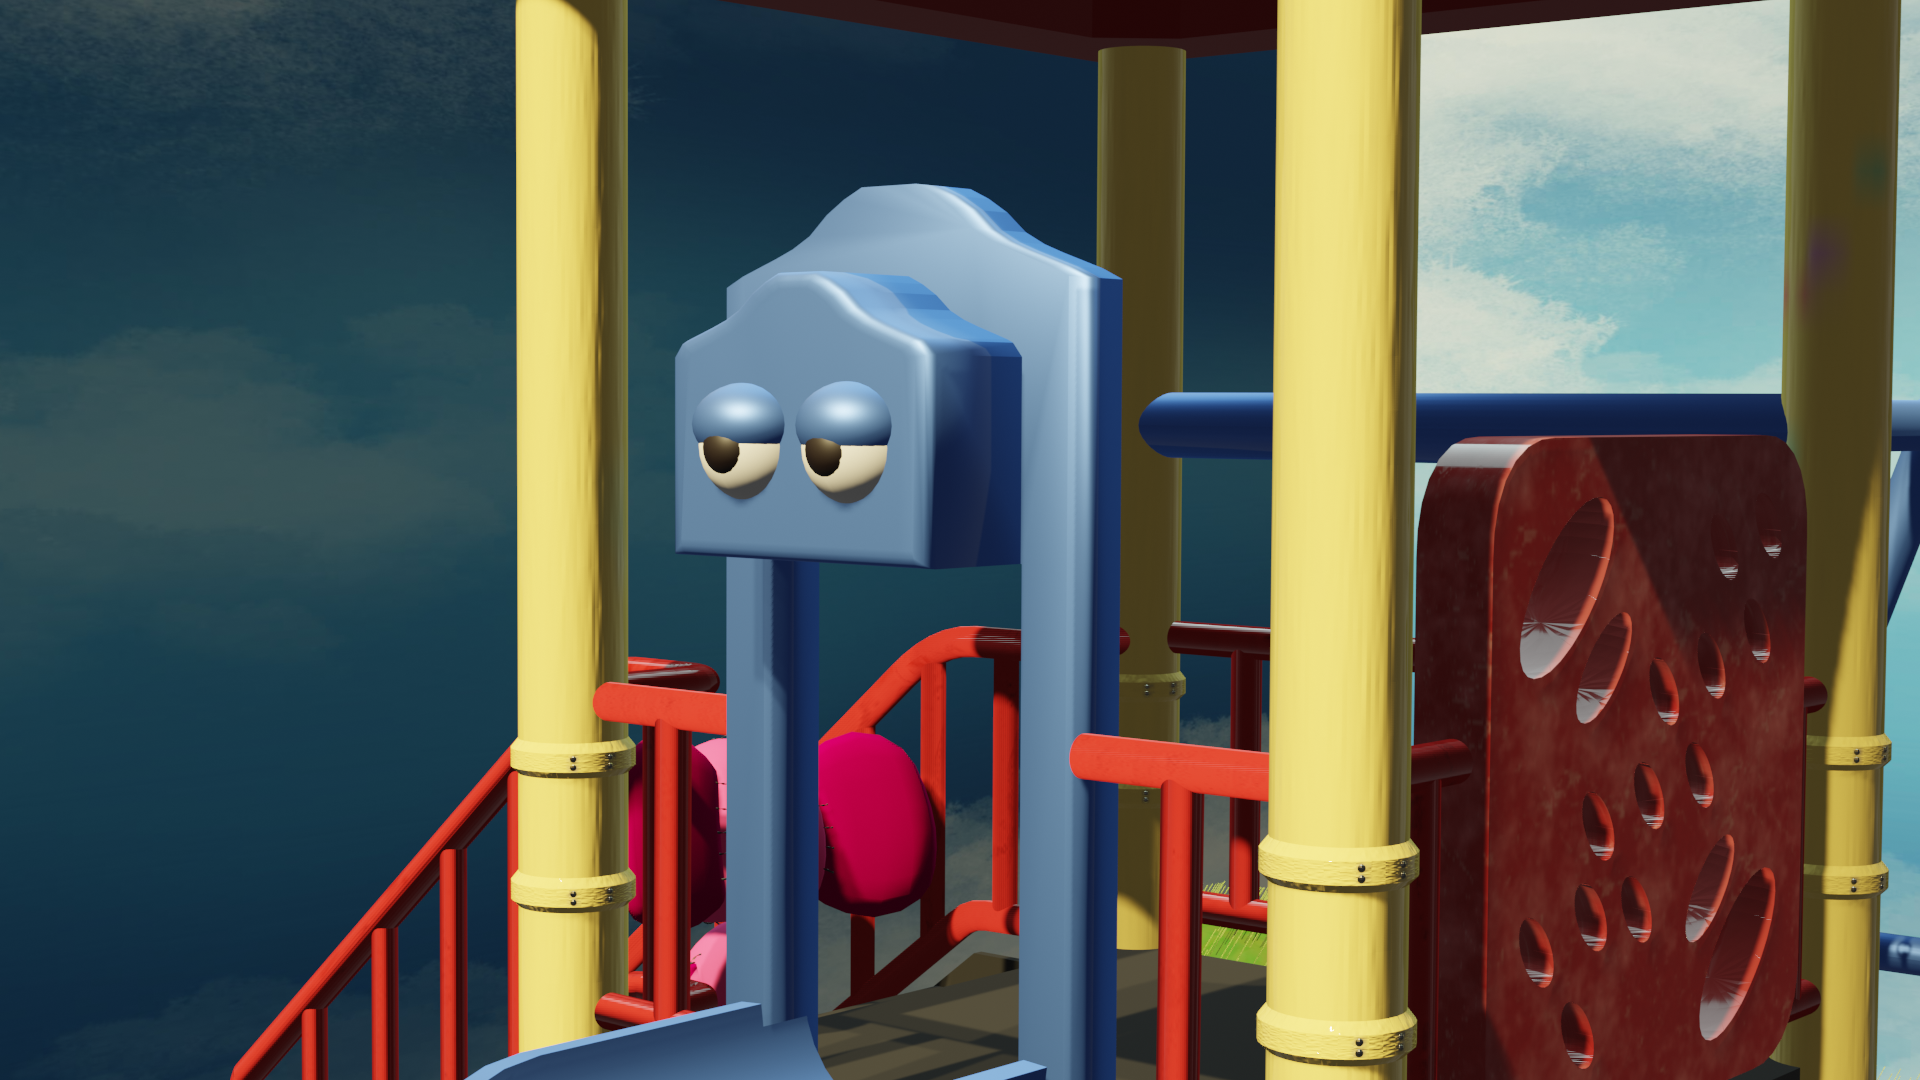
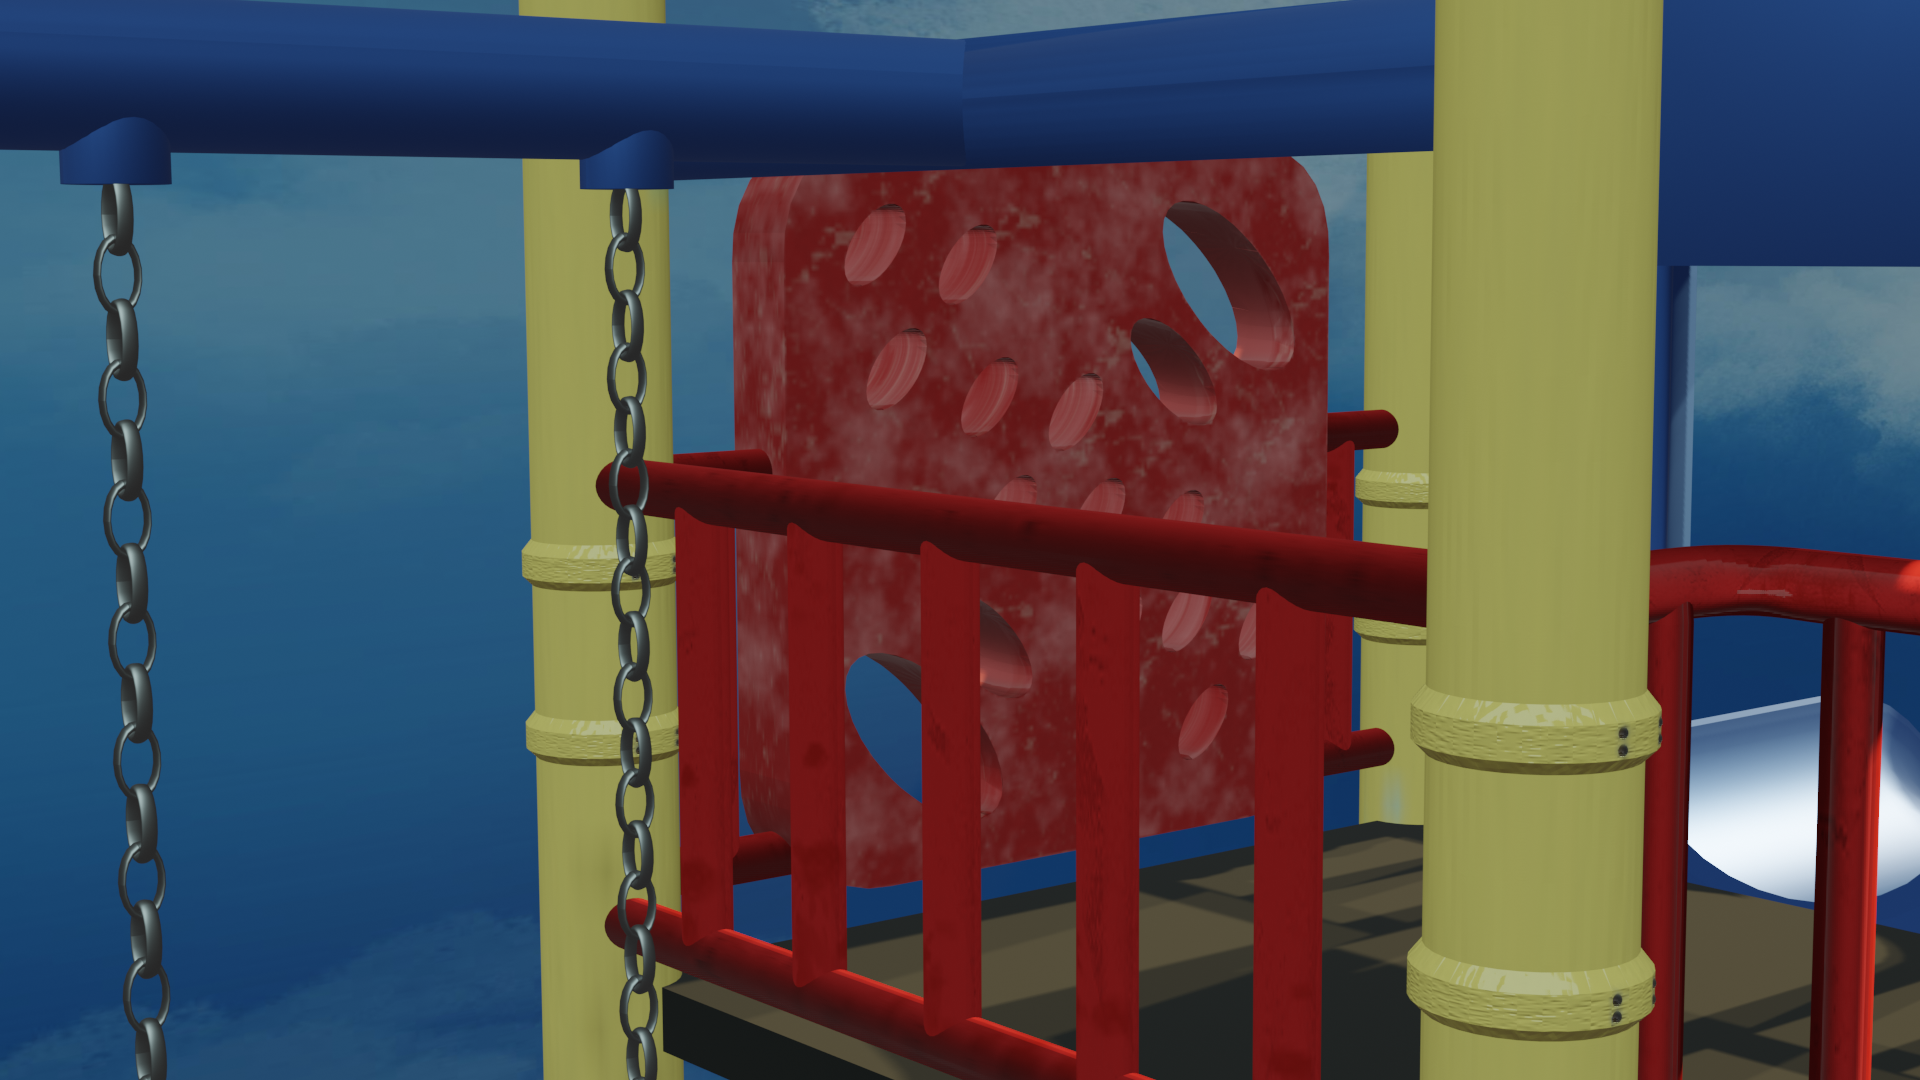
This project was completed in Advanced Digital Modeling (done in Blender), where we were tasked with using an existing, downloadable model, and a scanned model of our own, and placing them in a fun environment. I chose to use the “Animated Elephant Character” model by bgilgen on SketchFab, and place it next to my stuffed, crochet bee (as you can see hovering over his bento box). I modeled a playground, similar to the ones at my elementary school, and painted a sky for the backdrop. Posing the elephant was an upward battle, as the rig wasn’t mine, and by no means was it a difficult rig, it was just a learning curve to understand how someone else rigs, versus how I do. I also had to learn how to lower polygons on a scanned item correctly so that it didn’t crash my computer, and subsequently Blender, every time I moved the camera. This was a cute project, and it gave me a huge sense of nostalgia, and I’d love to continue working with premade models again in an animated way!
Programs Used: Blender; Substance Painter 3D; Procreate
Link to Elephant Model: https://sketchfab.com/3d-models/animated-elephant-character-5db0b1b064f44b1fb9806f329d2295fd
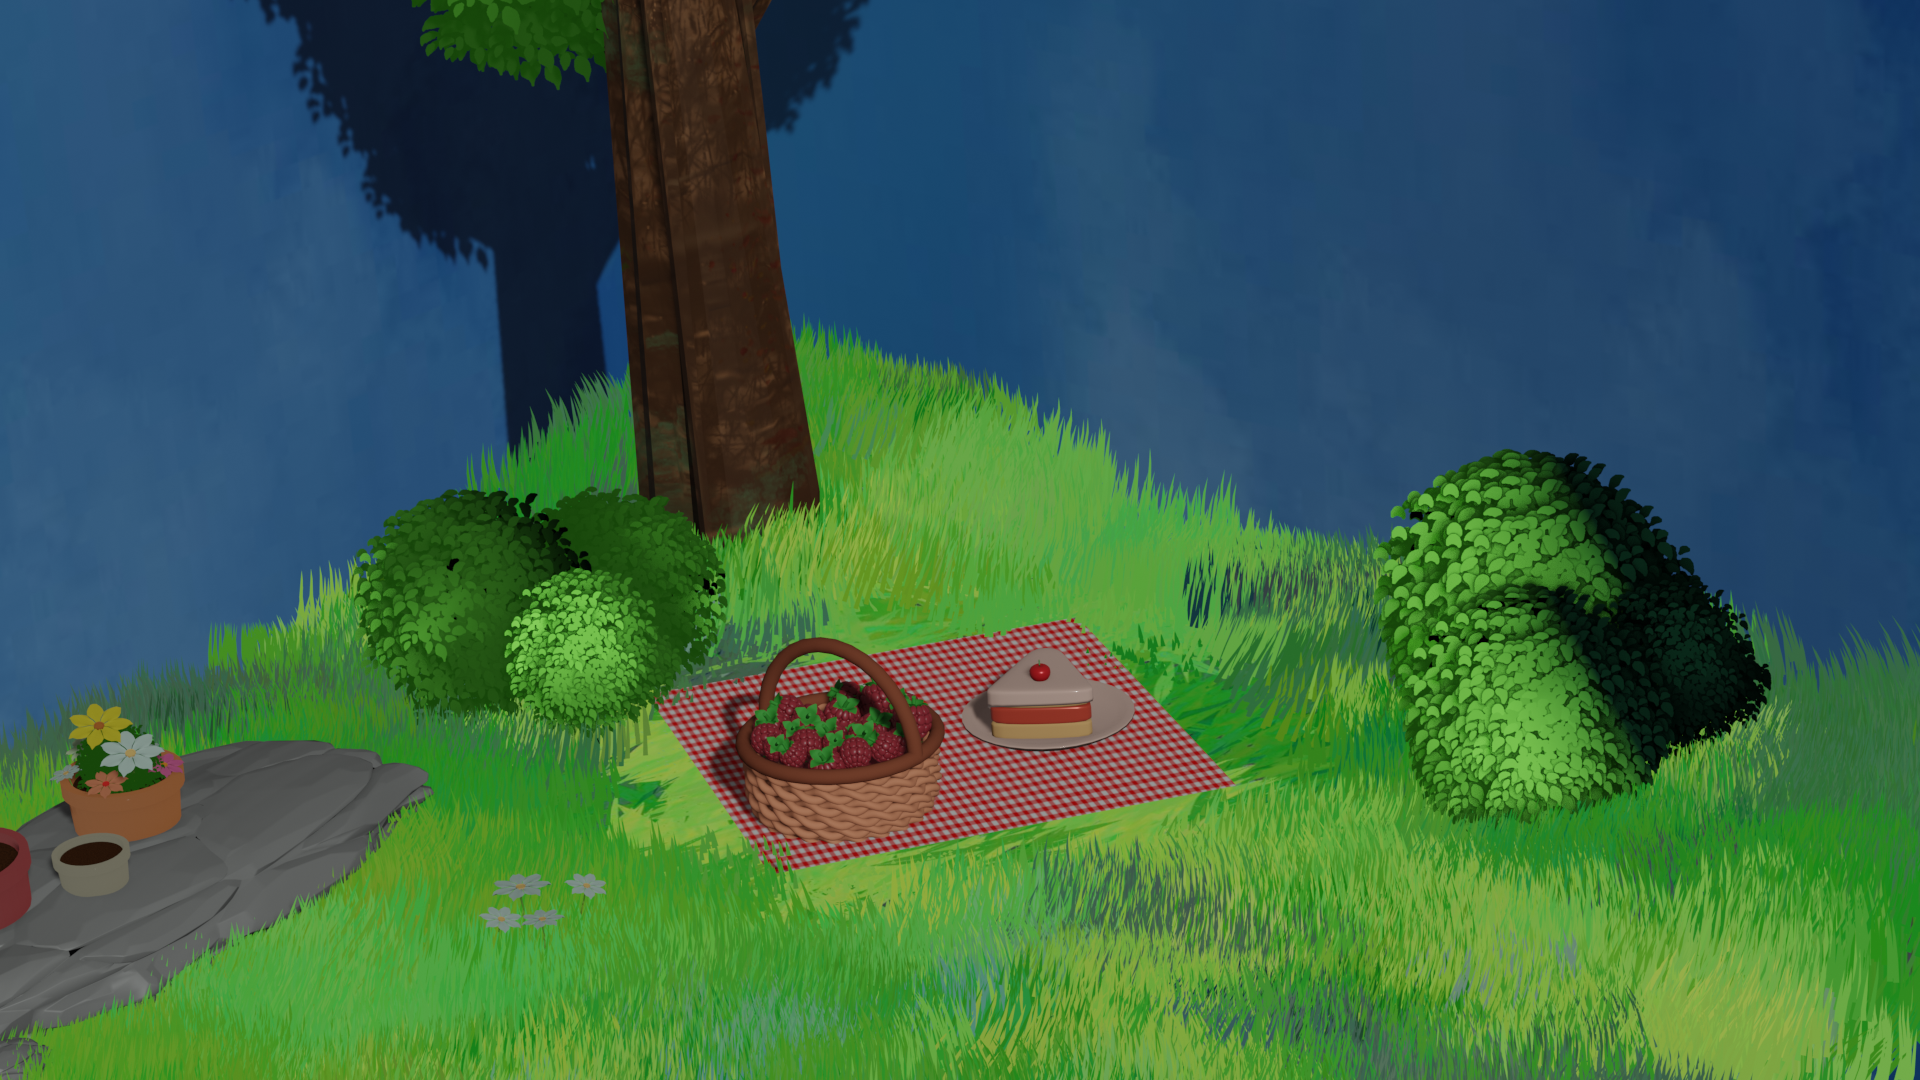
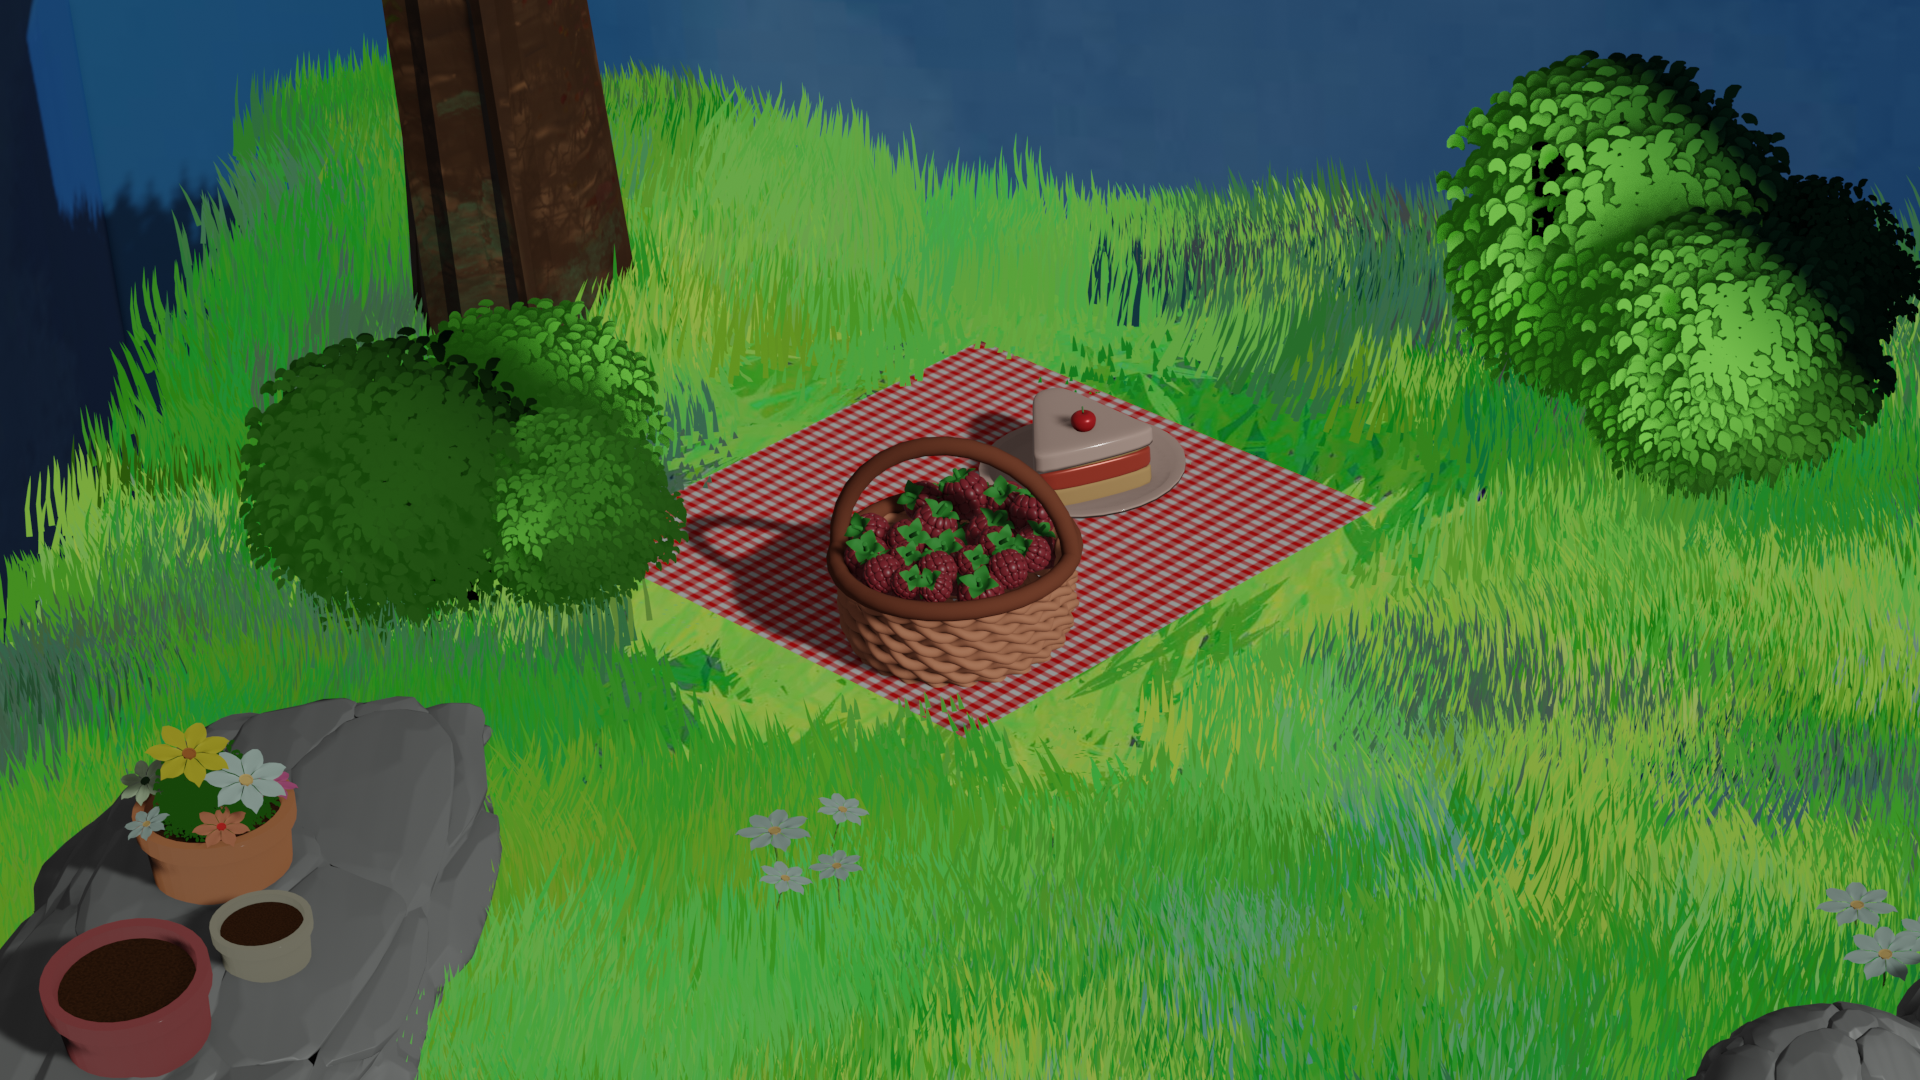
This project was also done in Advanced Digital Modeling; this time, we were tasked with modeling a picnic! I decided to do something fun: incorporate shaded leaf textures, use maps I wasn’t familiar with, and add wind-affected grass in Blender! The picnic blanket and the grass under it gave me the hardest trouble I’d had with any modeling project so far. I had to work around the grass under the picnic blanket by selecting only certain polygons on the flat plane and adjusting the grass around it so it didn’t feel unnatural when there were patches of ground with no movement. The actual picnic part ended up being easier, as well as the lighting. The cartoony textures were extremely interesting to mess around with, and it became one of my favorite ways to shade, light, and texture grass and greenery from here on out.
Programs Used: Blender; Procreate
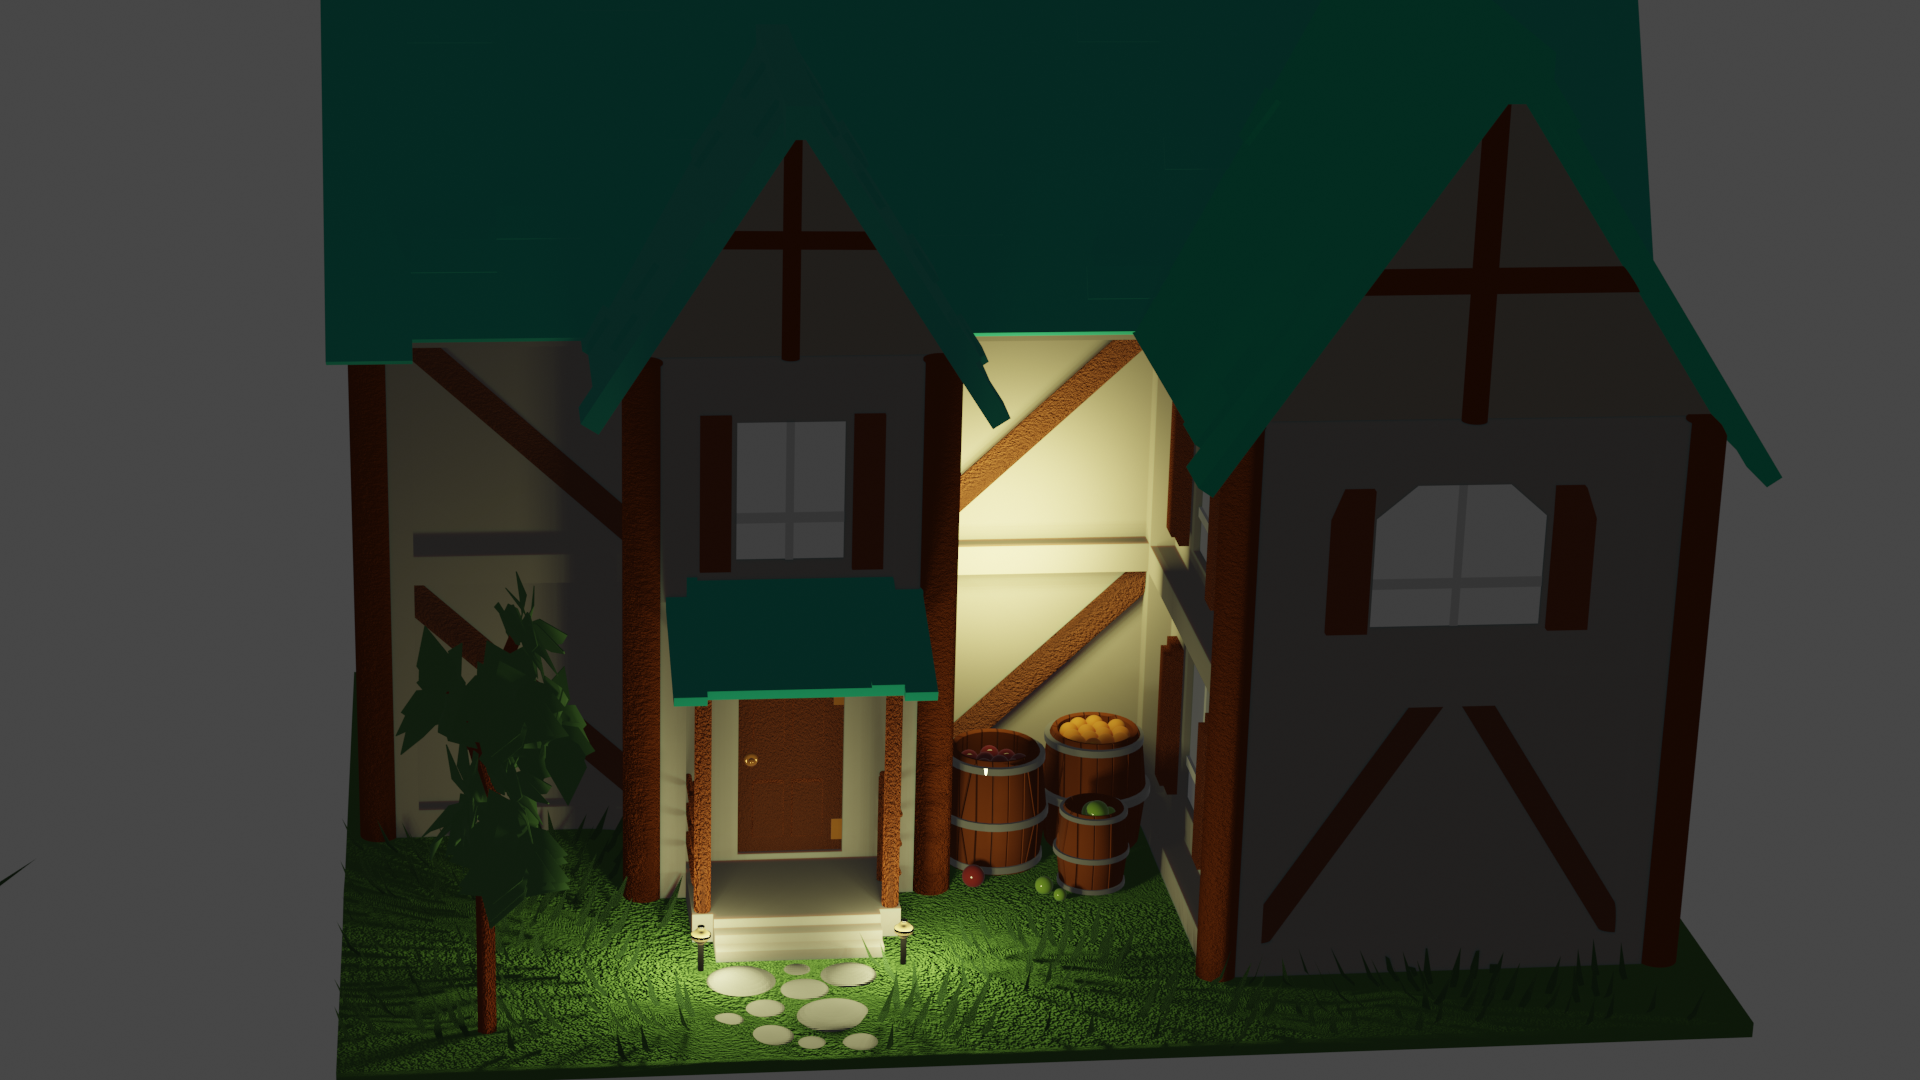
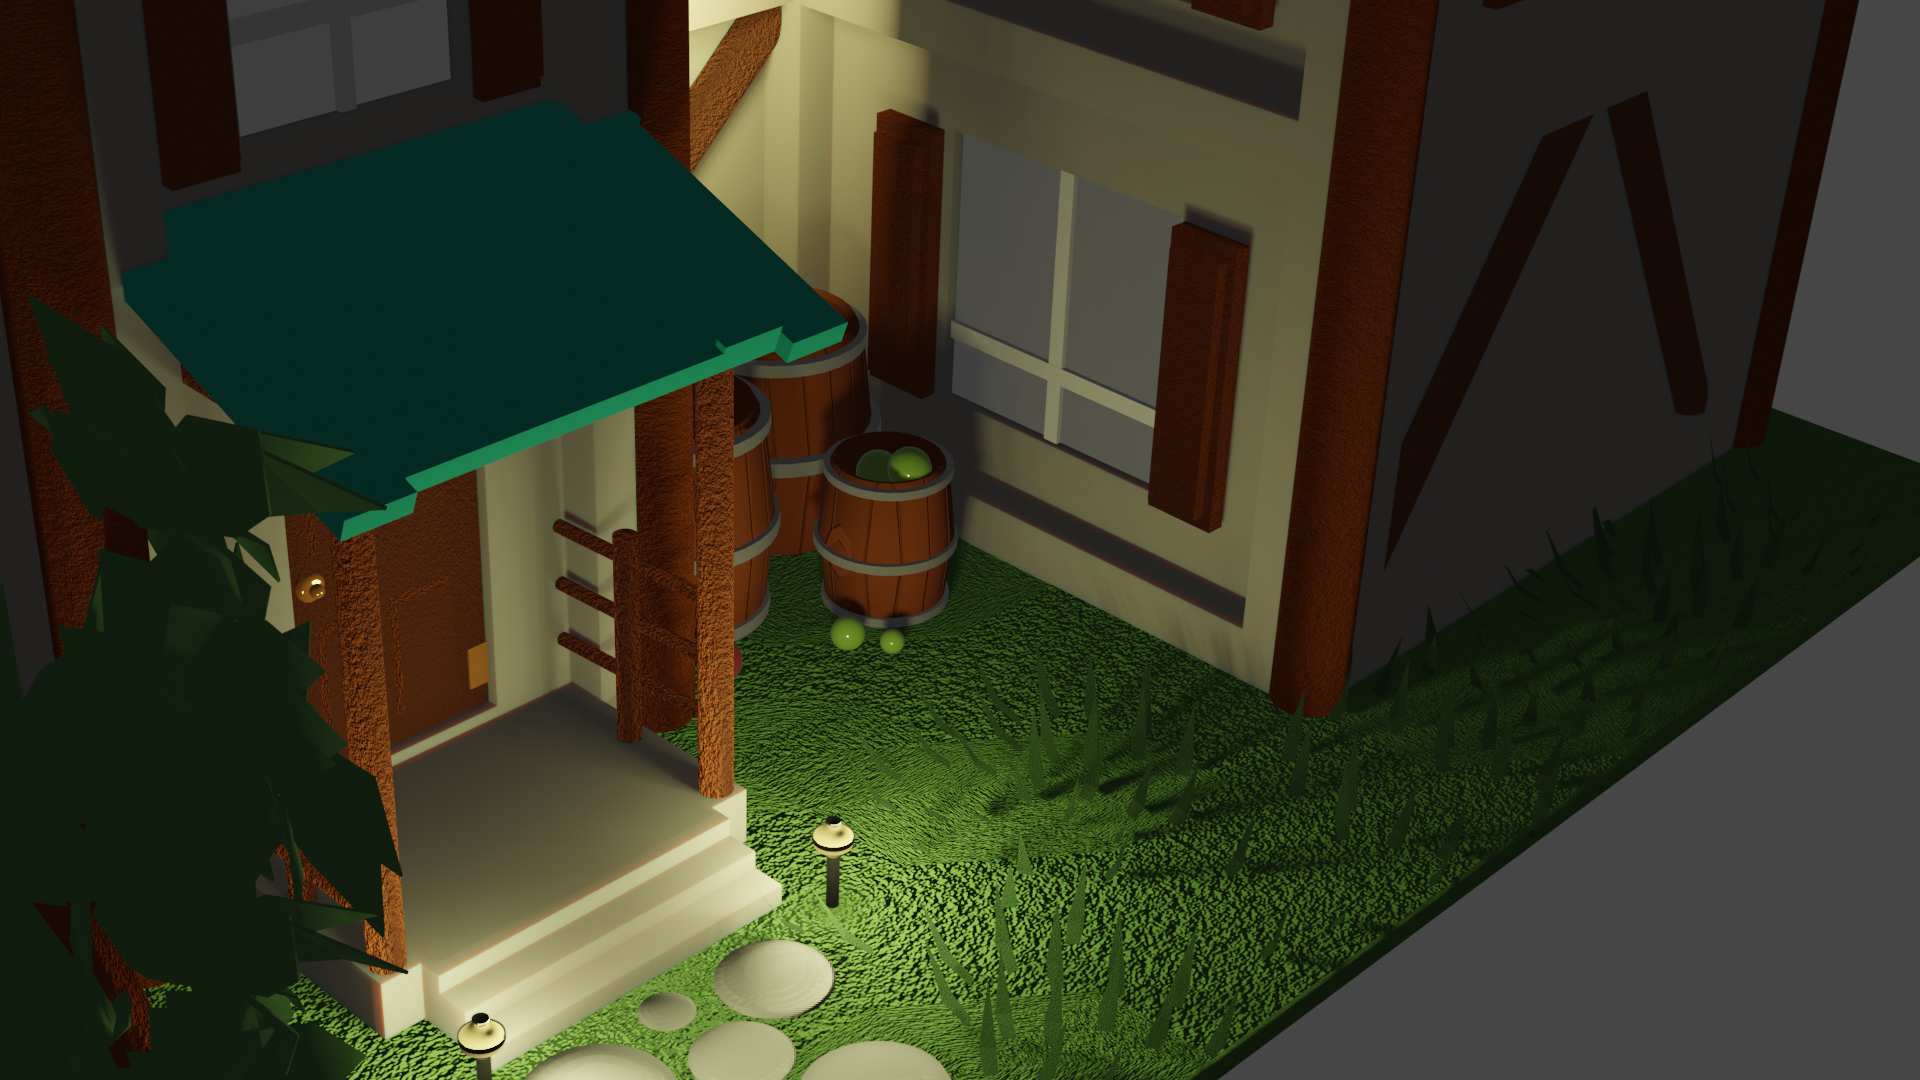
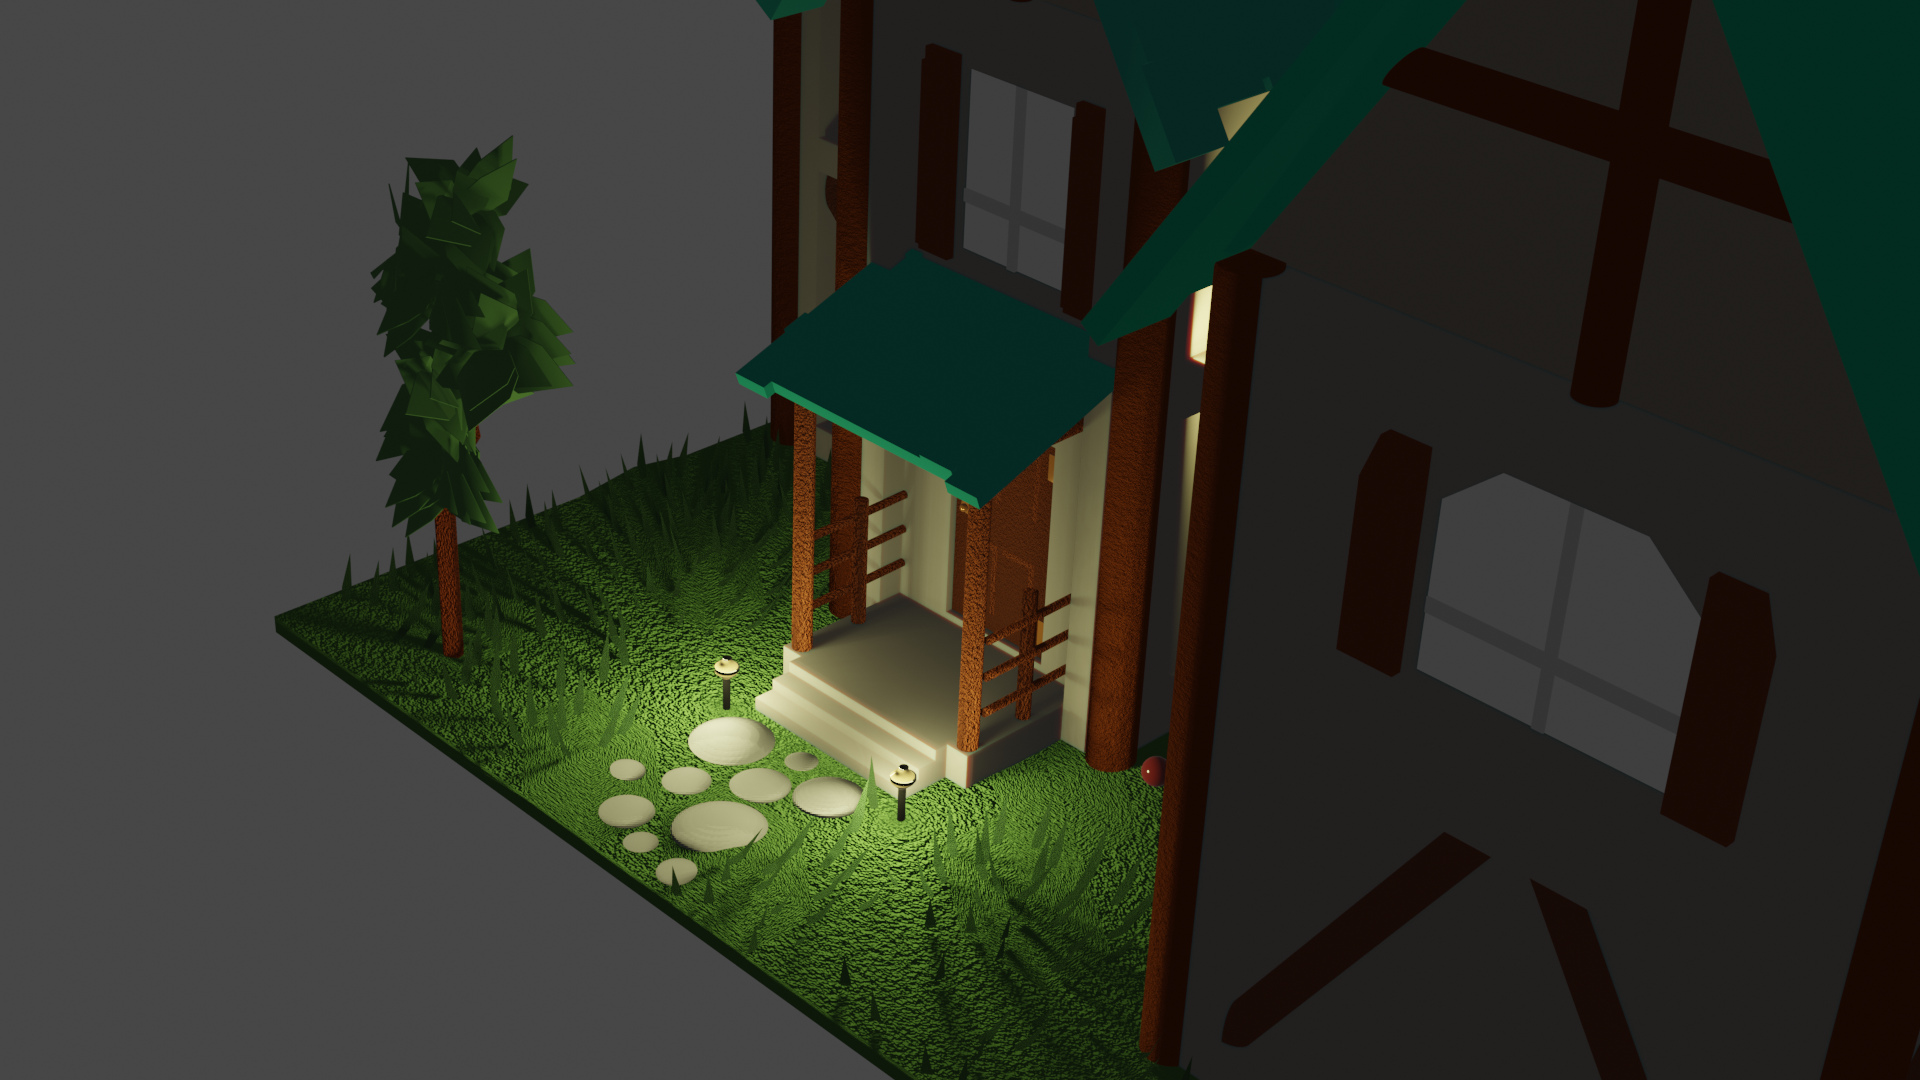
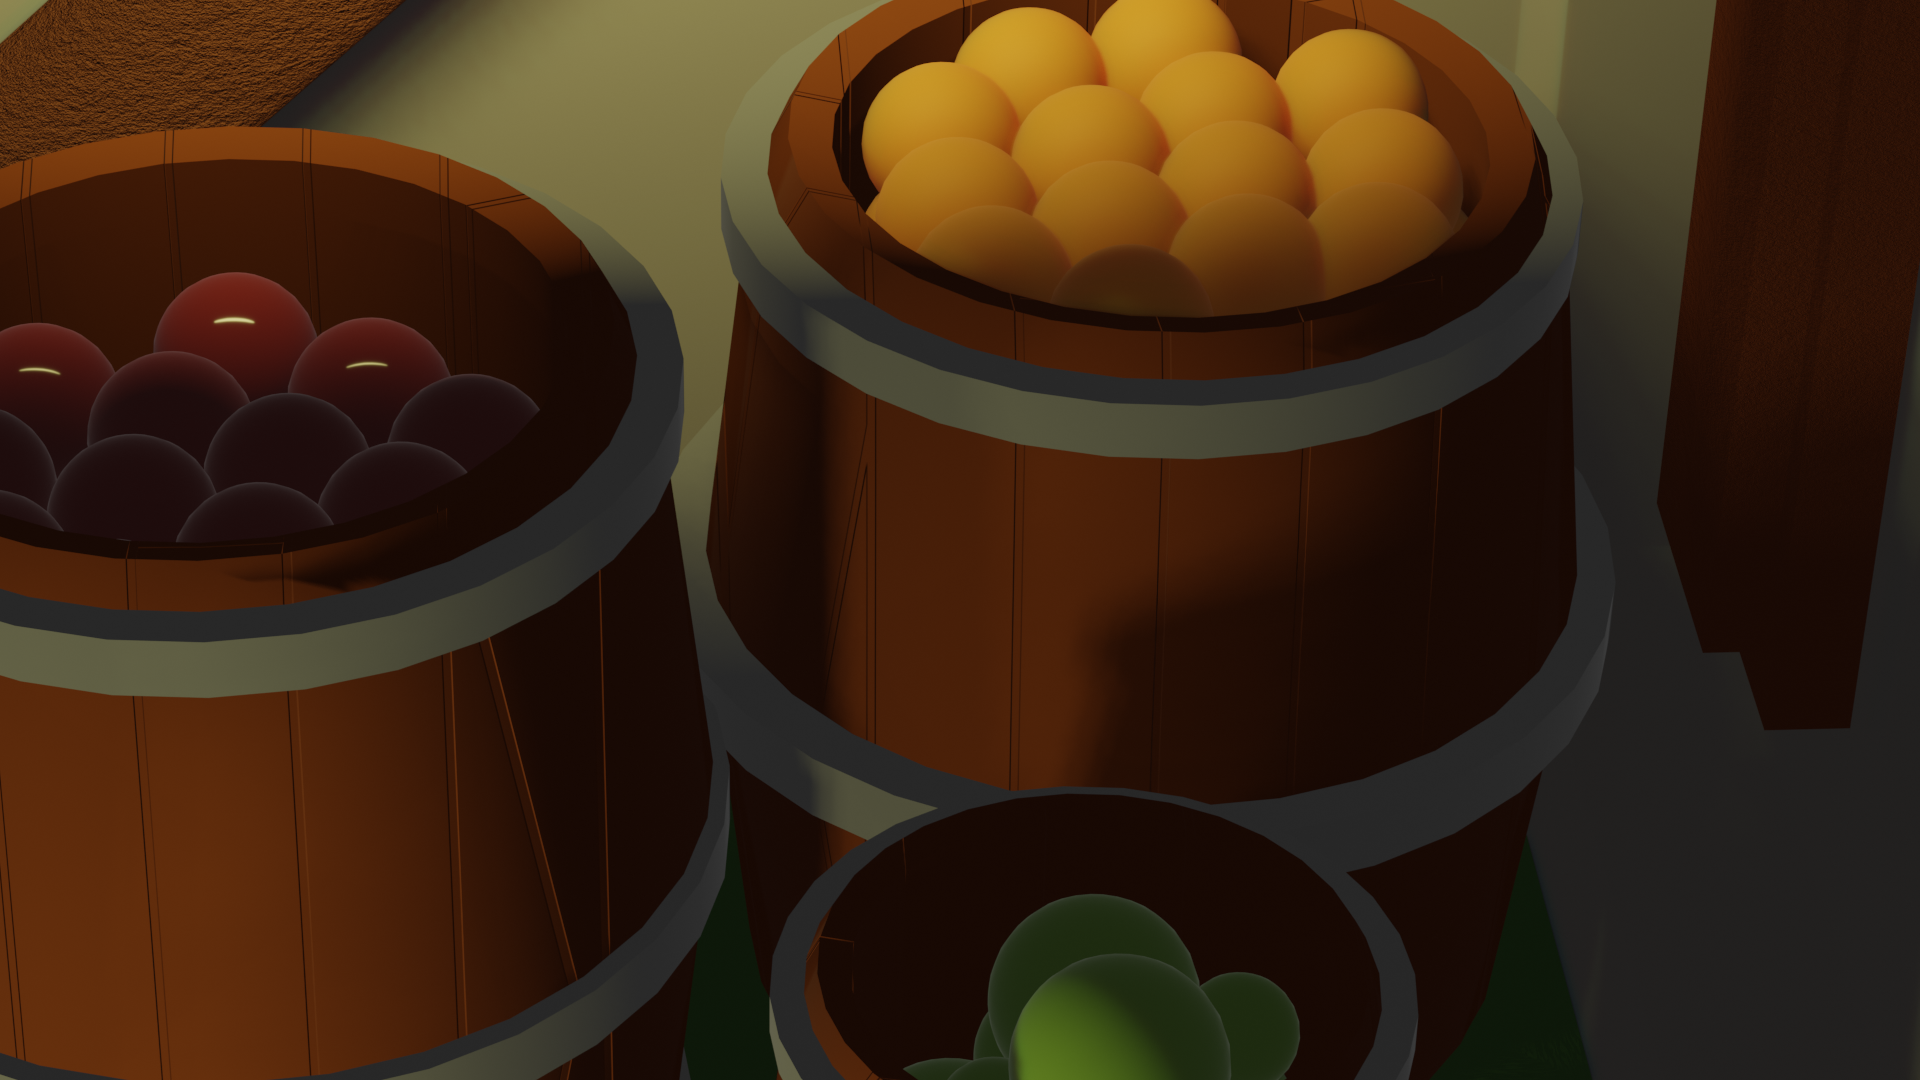
This is one of my first building-related models, and even though I see it now and it looks rough, I enjoy realizing how far I got after this project was complete. The grass texture I once I utilized didn’t work in Blender on my laptop a the time of making this, so I had to find a way to create grass blades that both didn’t use that same method, and also fit in with the surroundings. I went for a large, two story building with a fun colored roof and wooden beams for added texture, then added in barrels of fruit and light fixtures for interest. The grass gave me the most trouble, as did the roof. If I could go back and edit this file as it stands, I would add some interesting roof tiles with chips and a chimney. I’d love to see how the sun as a light source would interact with the model given those hypothetical features. It’s definitely a simple project I want to revisit soon!
Programs Used: Blender; Substance Painter 3D
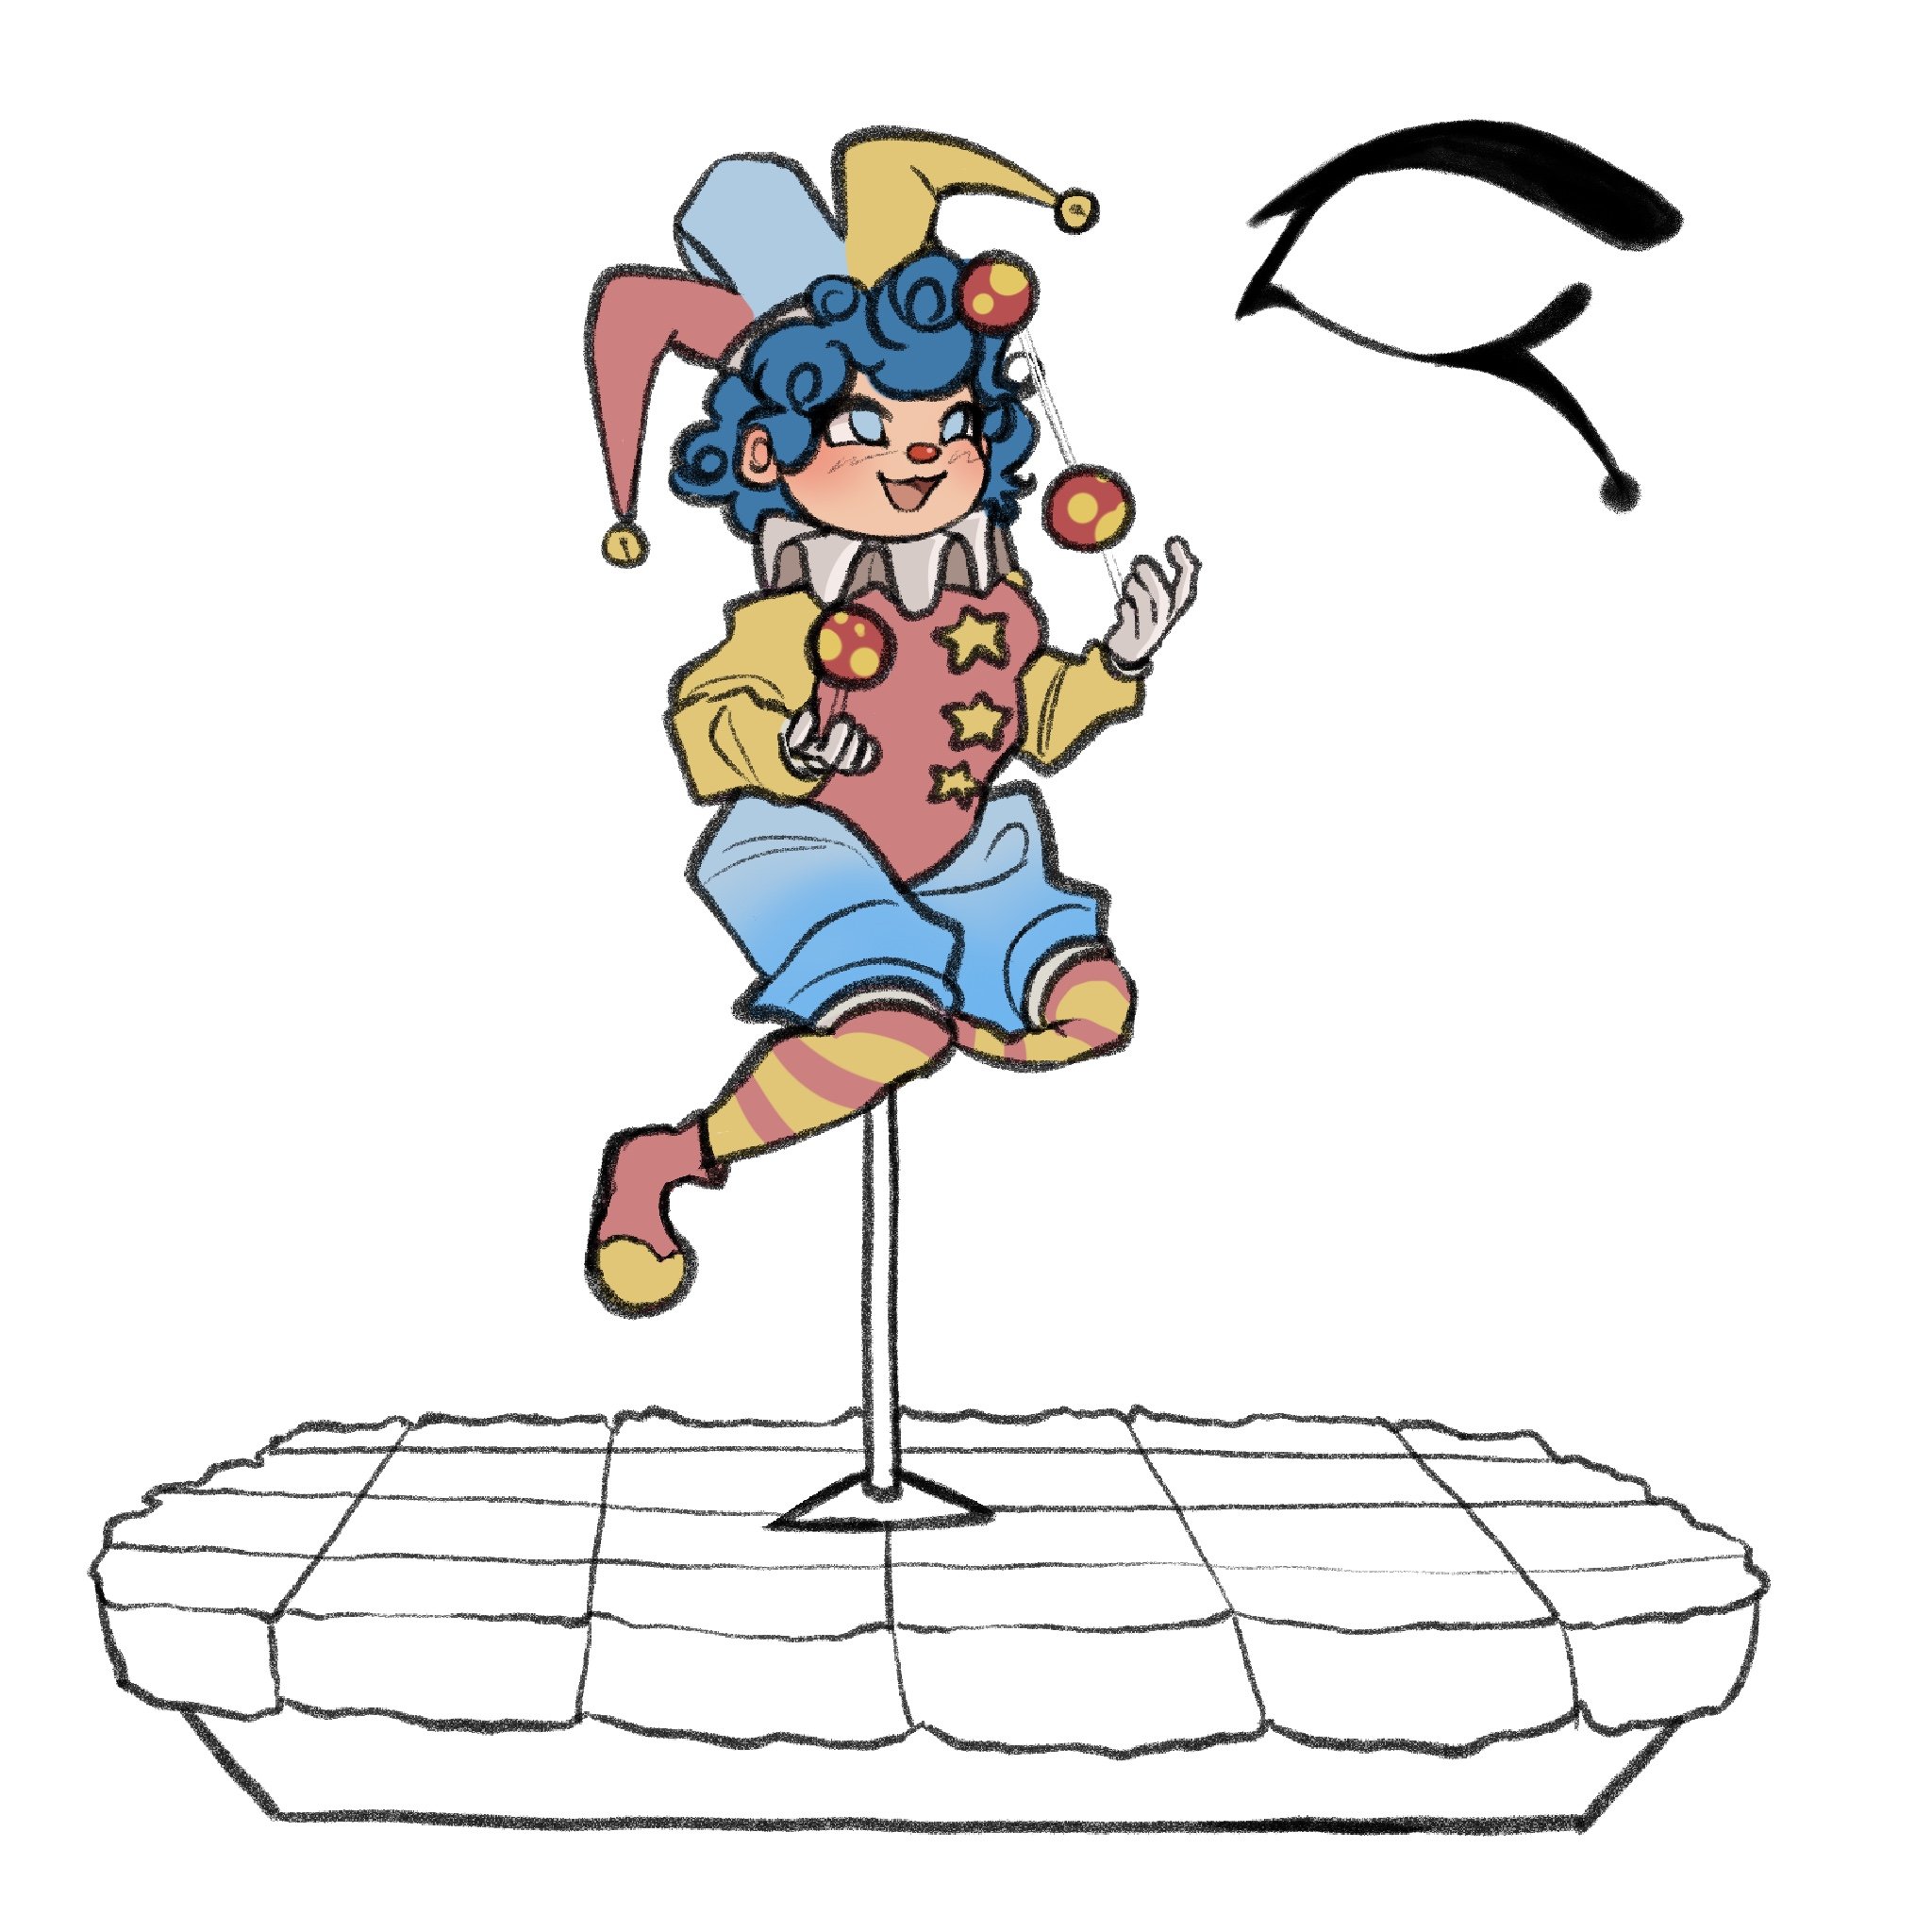
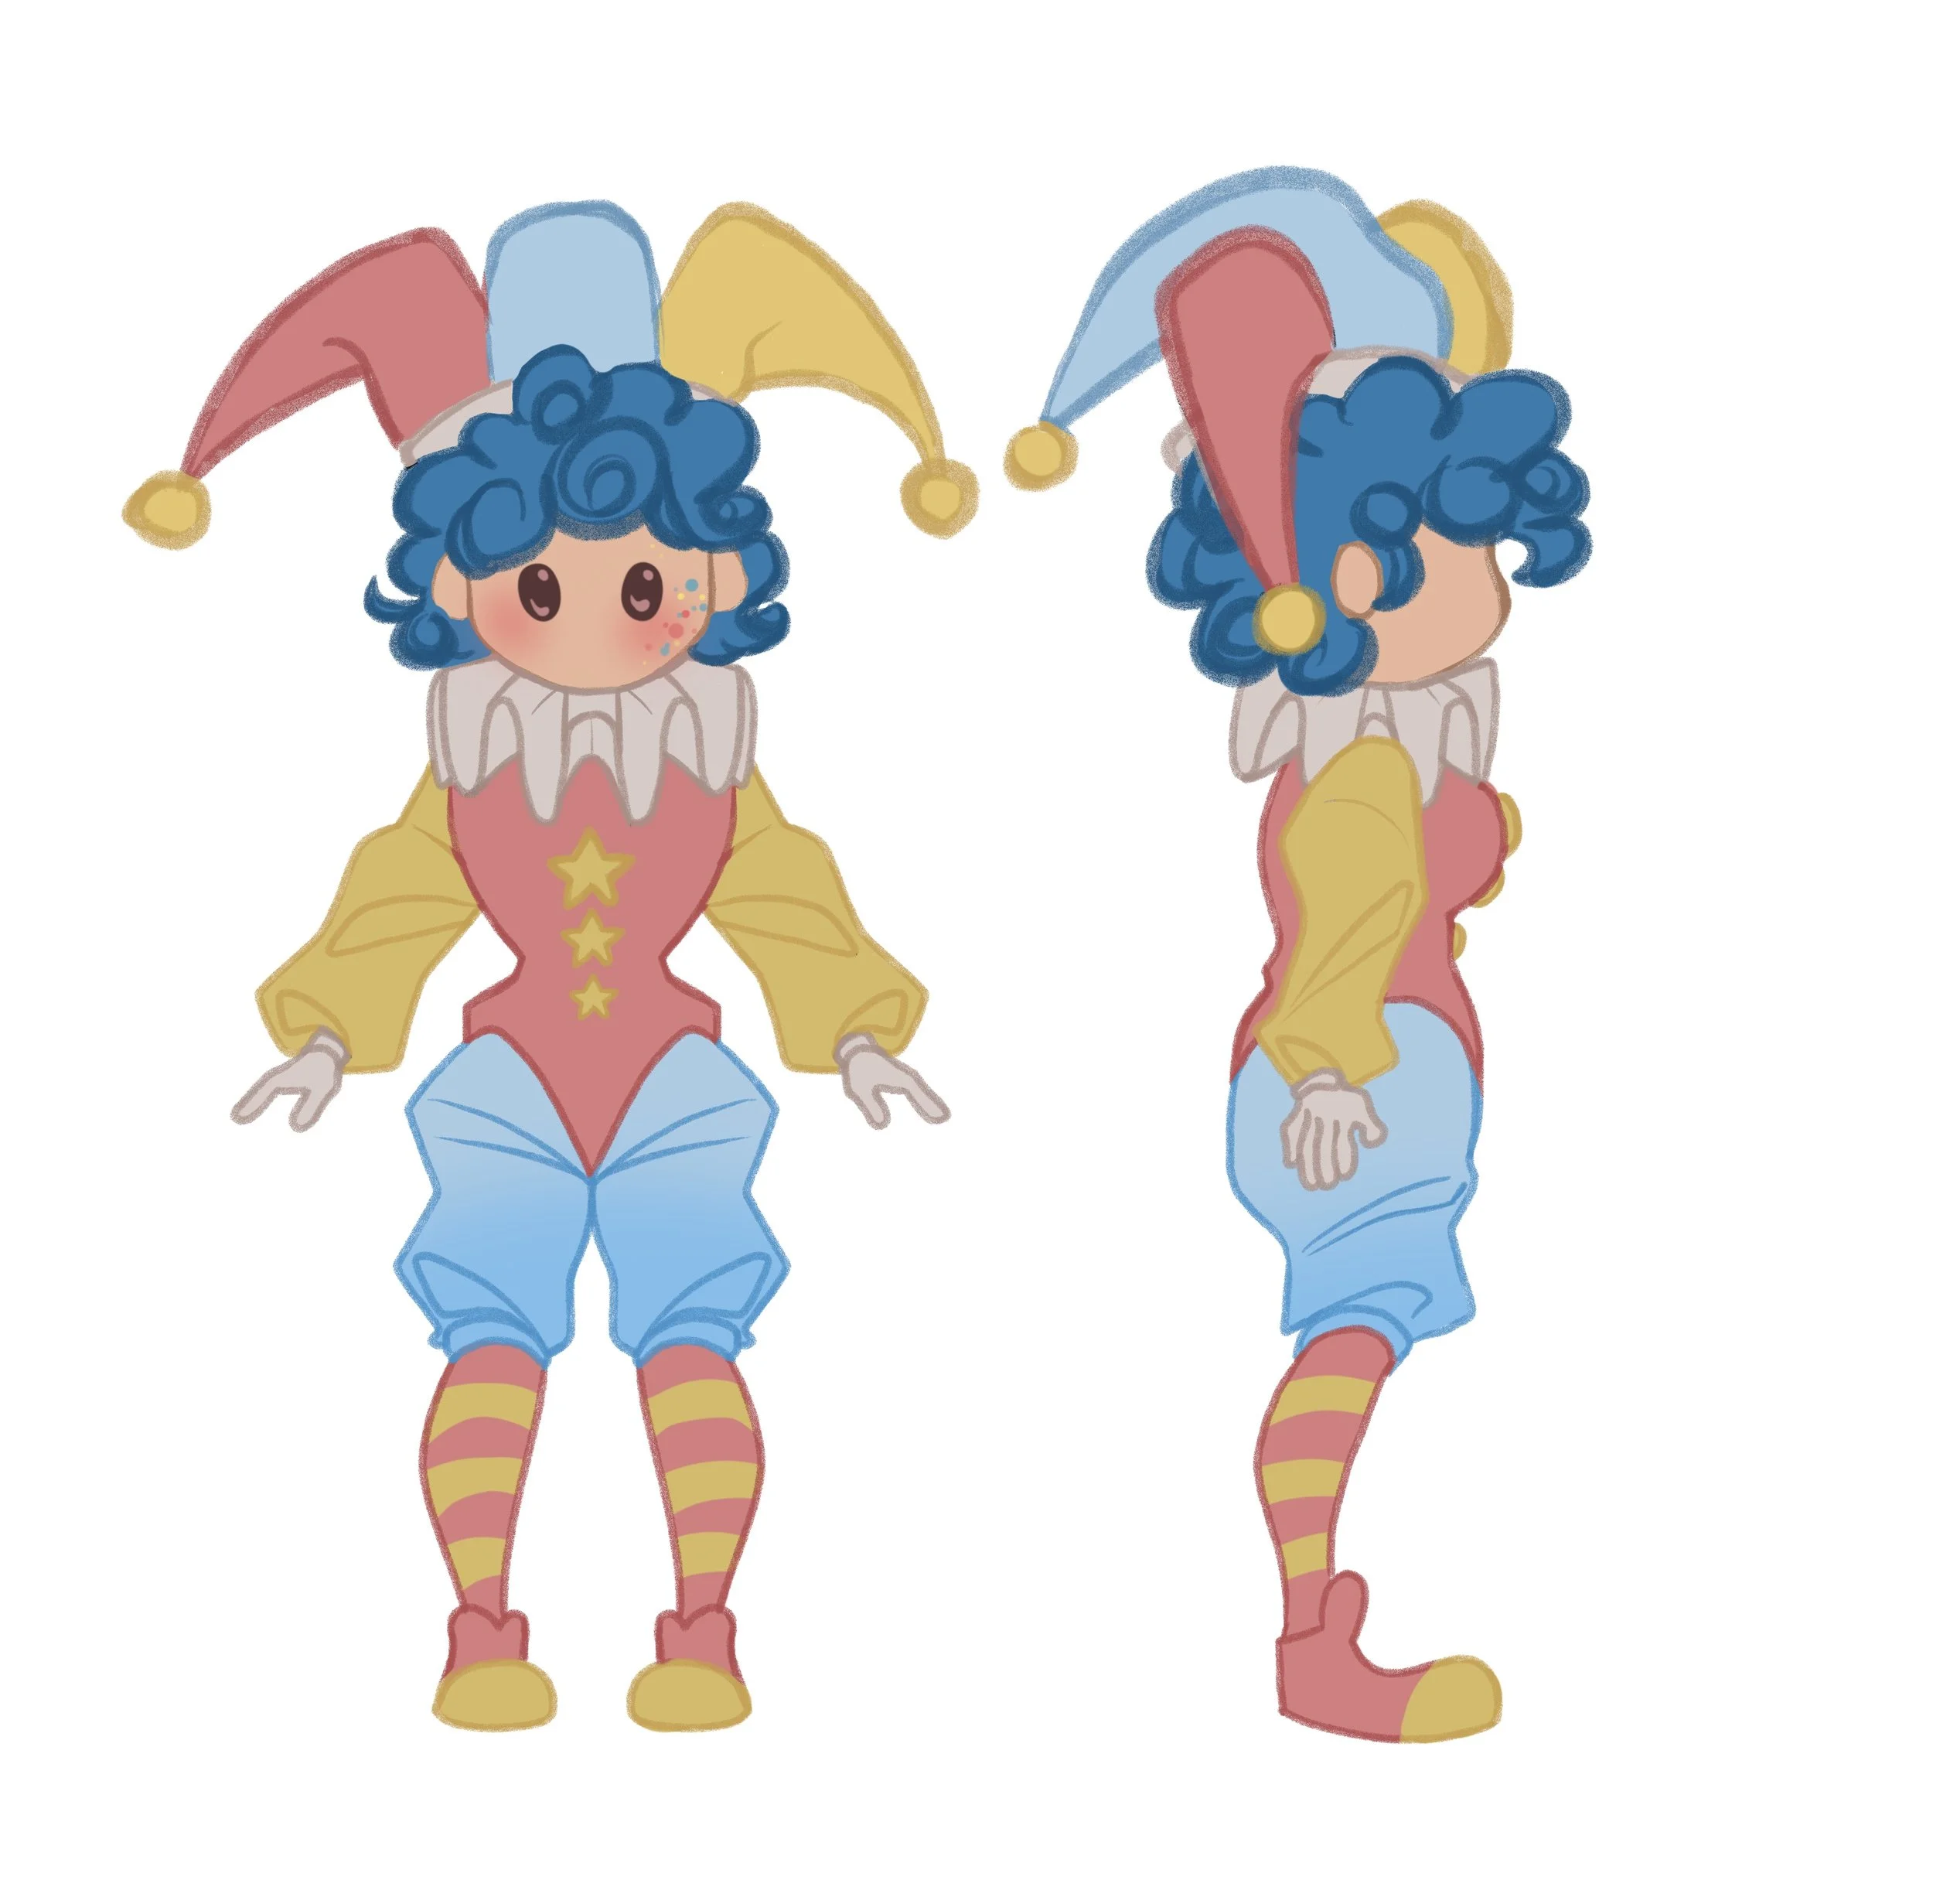
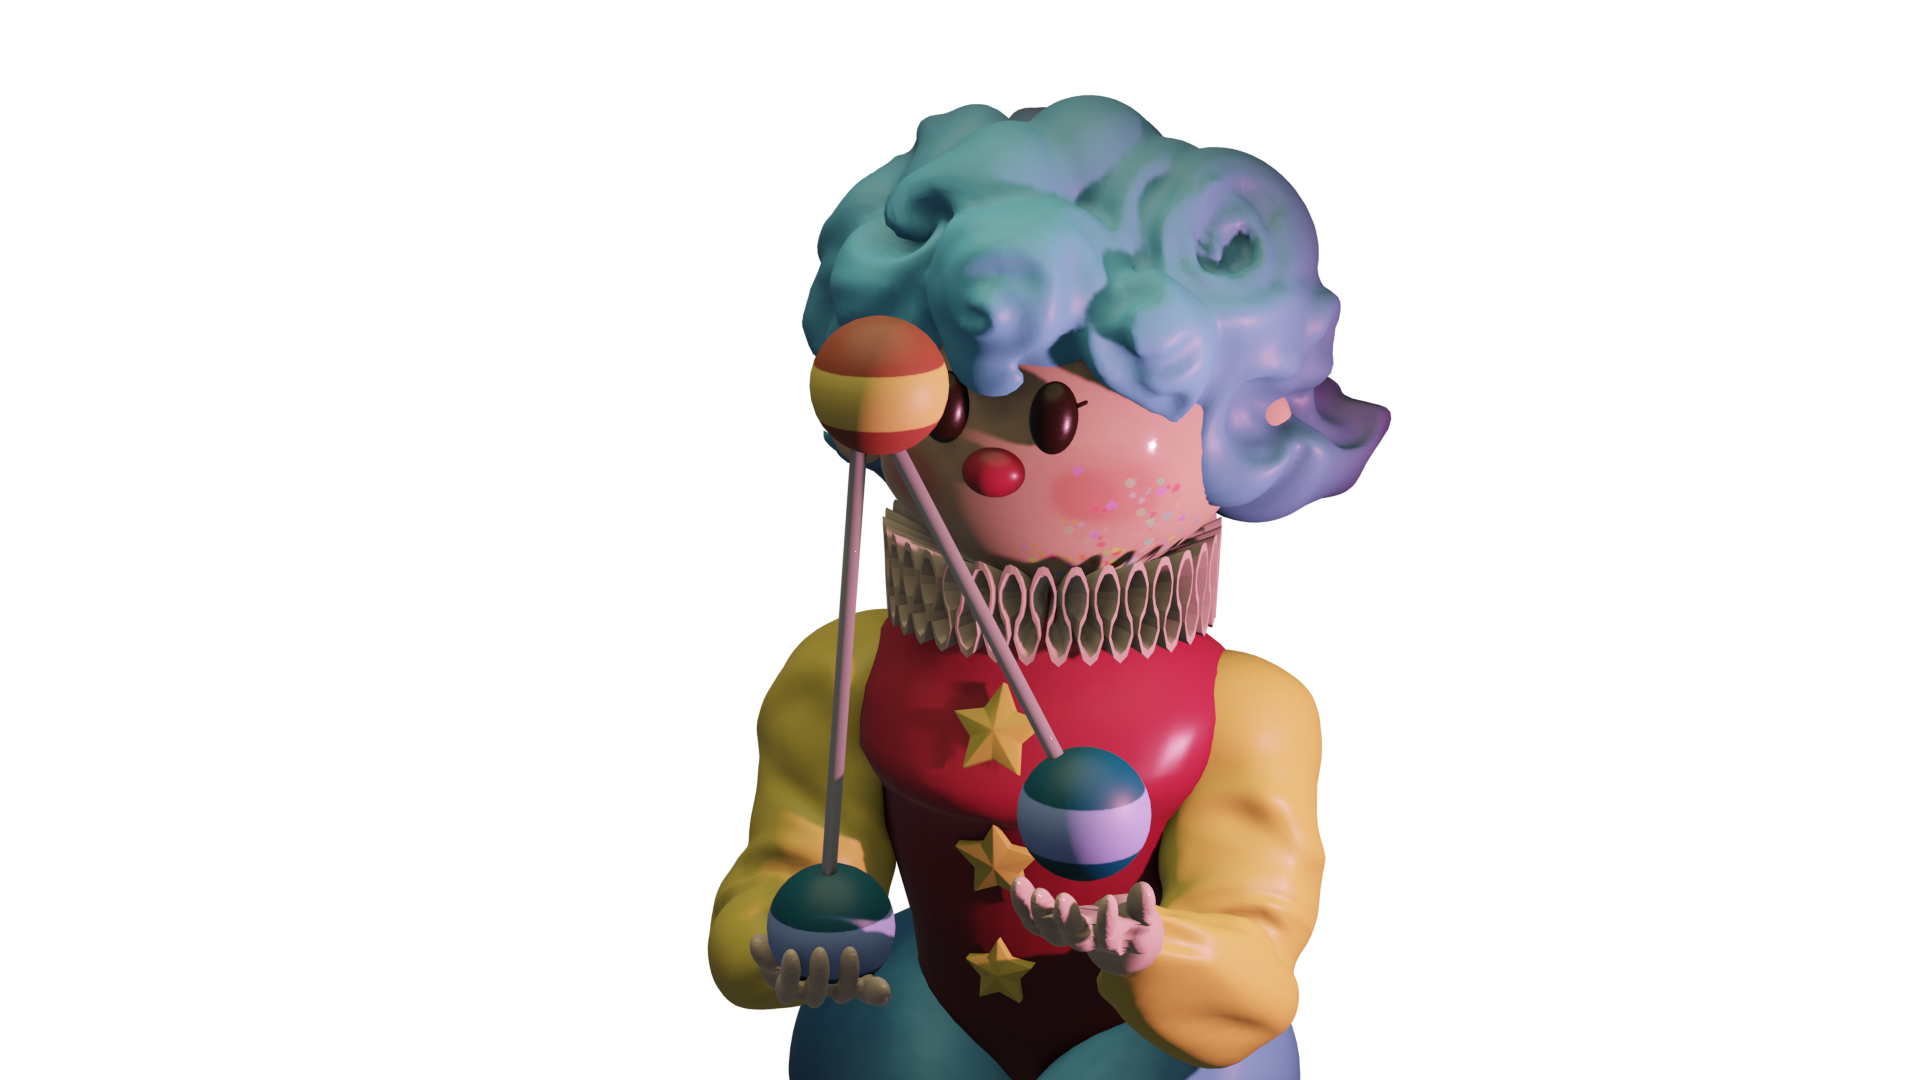
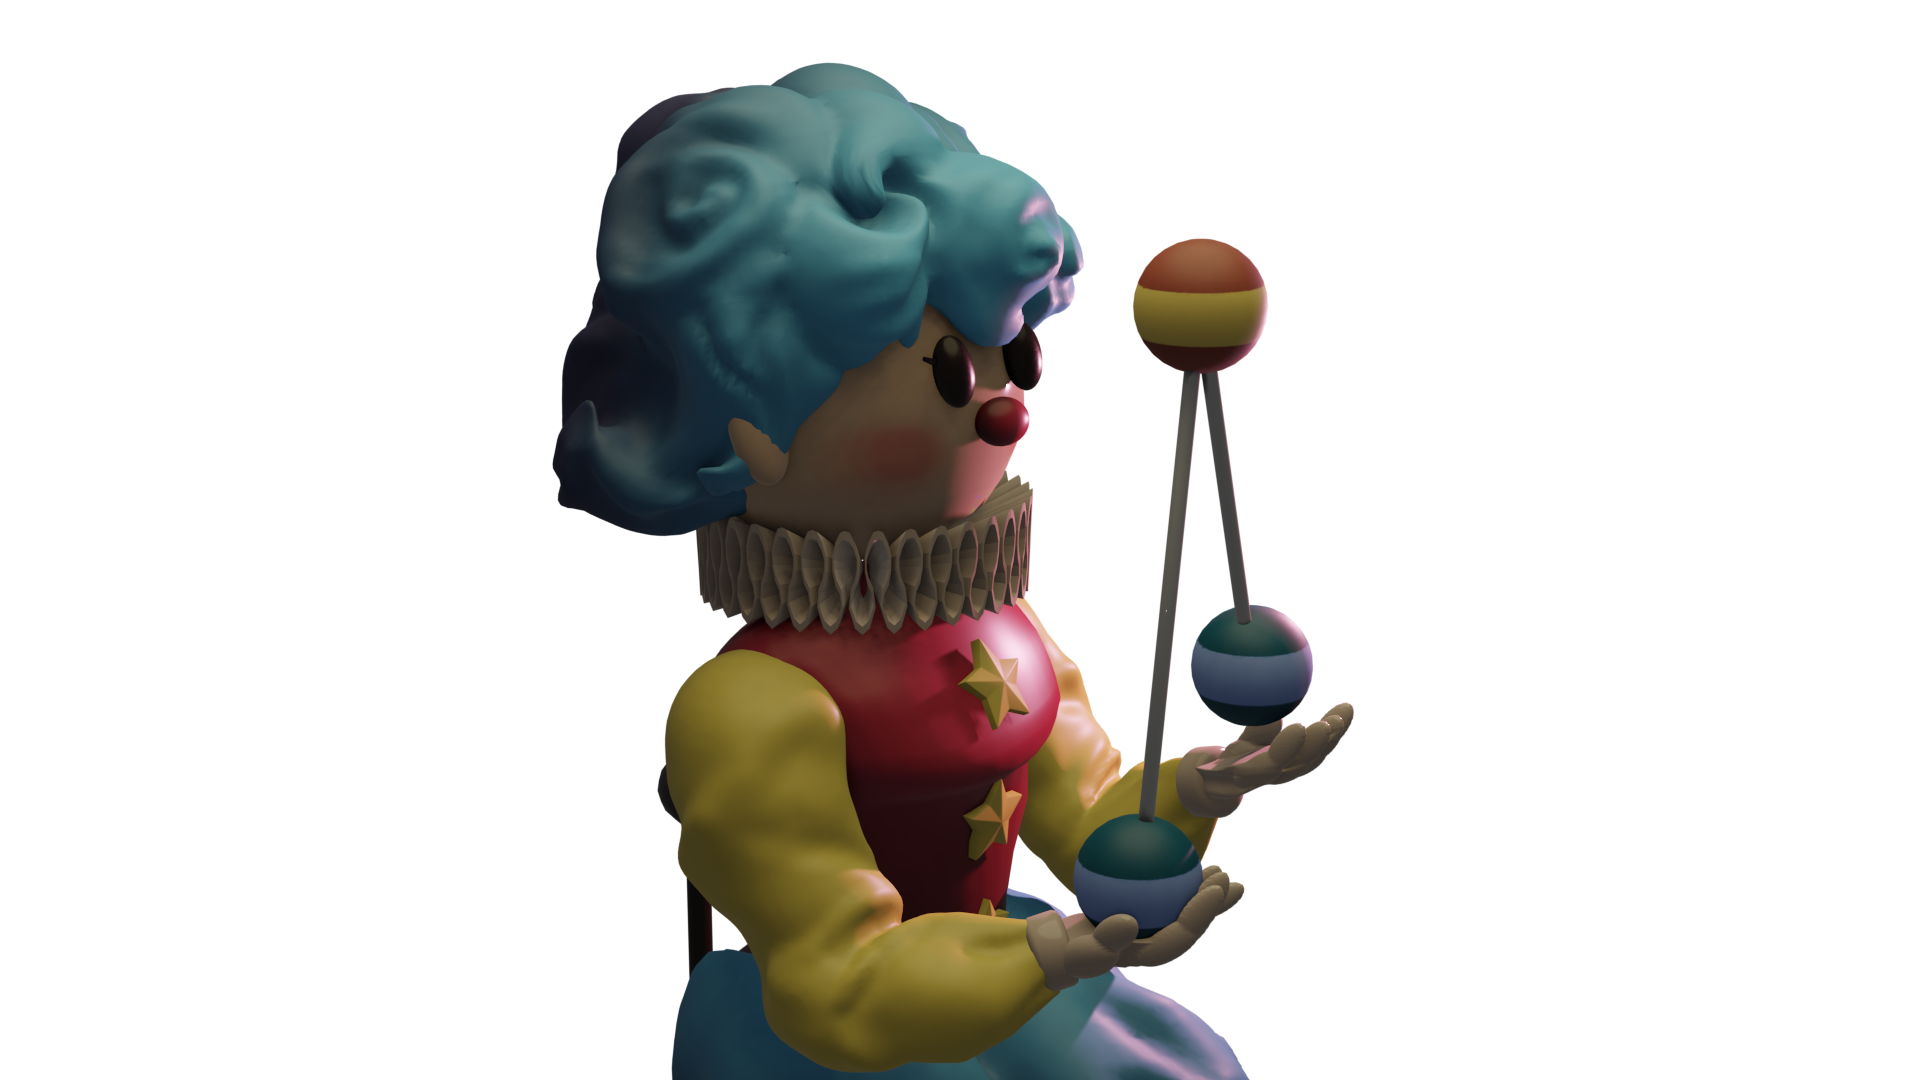
This project was open, and that made me more nervous than anything else. I thrive on being given a task and doing it, but even so, the concept of doing what I want is still thrilling! I decided to make my first 3D model of a person, posed in a certain way to give off the impression of a clay or plastic toy. The textures were extremely easy; the collar and the hands really did me in. The ruffles posed an interesting challenge, as I hadn’t had to either make fabric or create something that tight-knit. Though while that was difficult, the hands posed something even worse: anatomy. I didn’t rig this model; I modeled it in this pose, which was both a great decision (as I only had two weeks to finish it) but also not a great decision at all, as that meant that any fingers too close together, when smoothed, attached themselves together and refused to come apart without my laptop yelling for help. To get around this, I had to temporarily model a hand on its own with separated fingers, then reference that for the final model. I believe if given the chance, I’d just make the base model and rig it; it would definitely create better, cleaner results. I really enjoy this character and want to see if I can mimic the first reference picture next time, rather than the second!
Programs Used: Blender
I completed these projects for my online Digital Motion class in Maya; they're some of my only full animations done exclusively in Maya! While I definitely feel more comfortable modeling in Blender, Maya's animation features are absolutely stunning. I enjoyed figuring out the tail movements and utilizing the rig to create illusions of emotion in an otherwise unemotional character in the first animation, and doing the same but with the addition of a facial rig in the second animation. Since these were also my first animations in Maya, there was a learning curve; I’m sure the differences between animating in Maya and Blender are pretty obvious, but for me, the biggest difference was the overall feel. The frame panels are nearly identical to my eye, but the rigging felt different, and getting used to animating in Maya versus Blender took some work before I could start moving on with the animations themselves. I had a lot of fun with these, and would love to experiment with Maya even more, possibly getting into modeling in Maya as well to improve my workflow.
Programs Used: Maya; Adobe After Effects